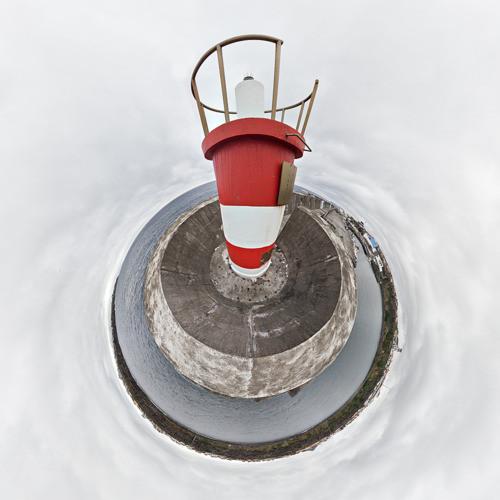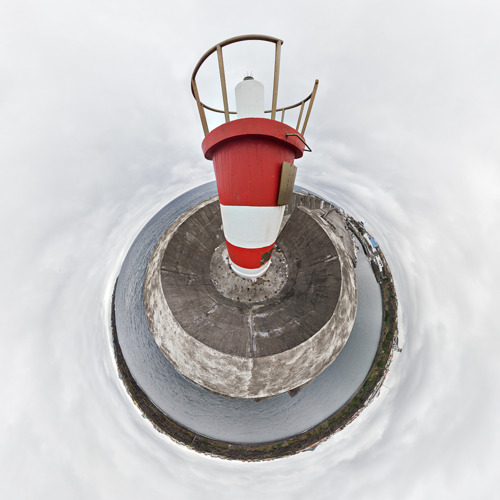
The Biggest Secret of 360° Panoramic Photography Revealed
What is the secret behind creating panoramic photography? It’s how you capture the scene and then convert it in the magical interactive panorama which everyone in the world can enjoy. I strongly belive that EVERY photographer should know how to create this kind of imagery and that’s why I created my PanoSociety How To Shoot 360 blog where I will share these secrets with you.
The biggest secret is that you just take multiple photos and stitch them together later. To start creating a panorama you as a photographer just need choose a place from which you want the panoramic photo to be created and then you start shooting overlapping pictures around you. You continue doing that until you have covered the entire intended field of view with your photos. There is nothing much to it but of course the devil is in the details.
In a case of a 360° panorama you must capture the whole space around you and the last photo must overlap with the first one. In a case of fully spherical 360° panos, you must also capture the view up and down.
The wider angle your lens has, the less shots you will need to cover the intended field of view, but the resolution of your photo will also decrease. Once your shooting is done, the photos are joined together on a computer, resulting in a panoramic photo with no visible seams between photos. You can view such photo on your computer interactively or print it out for example and hang it on your wall. The interactive view has the advantage of making you feel like you are actually in the photo, at the place where it was taken, during the exact moment.
This has been an article from the How To Shoot 360° Panoramas series. In the upcoming articles you will learn what equipment to get, how to stitch photos together and how to publish them on the internet. I encourage you to circle this page and/or follow the blog.


Einen Kommentar hinterlassen